Recently I began to learn the knowledge of visual recognition. Just before I learned the development of ROS robot, and I am using myCobot robot arm from Elephant Robotics. After playing with it for weeks, I developed a small project of object recognition and grasping with the robotic arm combined with RGB camera. Although the process of transforming theoretical knowledge into practical projects is not so easy, I am still very excited when I saw the final outcome. So here I am going to share some of my development ideas and process, I hope this can be helpful for you.

Aruco tag
Before starting, some quick note might be helpful. An ArUco marker is a binary square marker consisting of a wide black edge and an internal binary matrix that determines their IDs. The black boundary facilitates quick detection of the image, the binary encoding validates the ID, and allows the application of error detection and correction techniques. The size of marker determines the size of the internal matrix. For example, a 4x4 marker consists of 16bits.
Some examples of Aruco Markers:

(Example of markers images)
It should be noted that we need to detect the rotation of a Marker in space, but the detection process needs to determine its initial Angle, so every corner needs to be clear without ambiguity, and the above point is also guaranteed to be accomplished by binary coding. When Marker rotates in space, the corresponding binary information will also change. According to the change amount, the position and attitude of Marker relative to the camera in space can be obtained, as shown in the figure below, and the coordinate system and boundary of Marker can also be displayed in the camera picture:

Robot arm recognition & gra sping tutorial
Mycobot has an open source code base on GitHub:
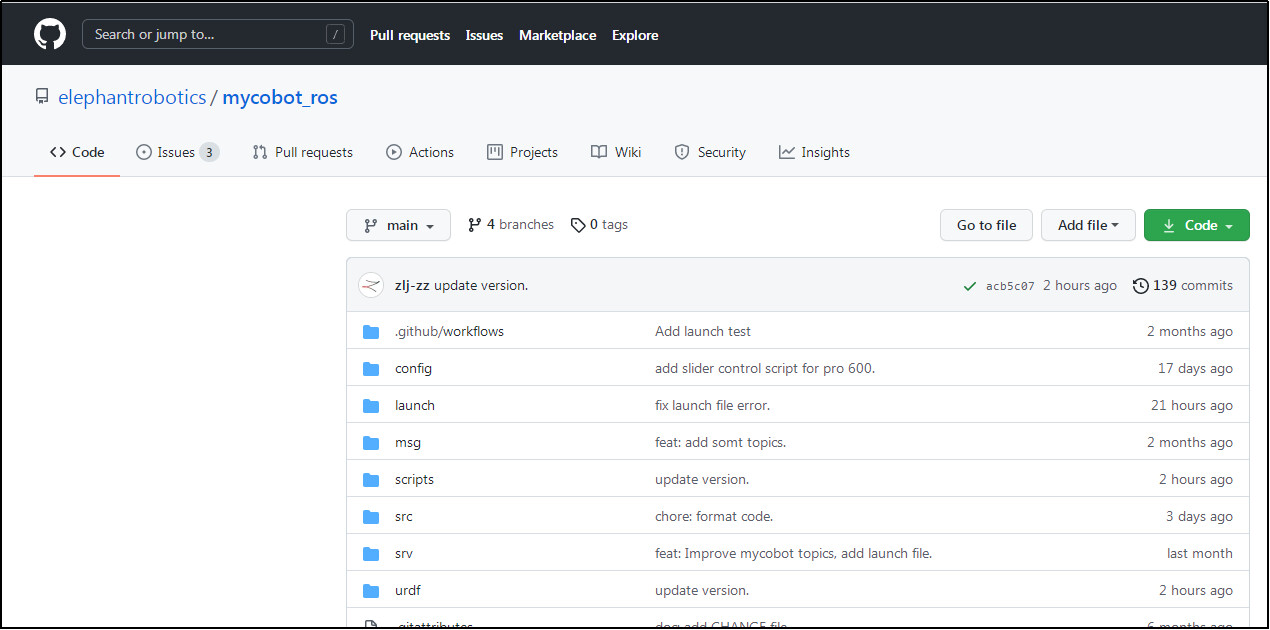
There are various Mycobot using the function of the code file, let the function run quite simple, just need to launch a file in the command line terminal run a file can achieve. This time to take a detailed look at the various code files, to pick a pick identification crawl in the end is how to achieve.
Main code and function

Take a look at the launch file first. Anyone who has read about ROS will know that a launch file opens multiple nodes and opens communication between them.
There are three main node files in this launch:
opencv_camera.cpp / detect_marker.py / following_marker.py
- /mycobot_ros/src/ opencv_camera.cpp

To recognize the object, of course, the first thing to do is to turn on the camera. Here, the video pictures shot by the camera are converted to OpenCV type format using CV_BRIGE library, and a publisher is created to publish picture messages to the topic “camera/image”. In this way, the following code can get the scene information we want for further image processing.
2. mycobot_ros/scripts/mycobot/detect_marker.py

In the previous step, we published the picture captured by the camera and the picture information on the topic “Camera/Image”. Now we can get the picture information on the topic and call the “DetectMarker” API function in Aruco library to detect whether there is an Aruco logo in the picture.

As you can see from the first line, if CORNER is greater than 0, at least one or more Aruco flags have been detected. So what we’re going to do is we’re going to do a bunch of transformations of this Aruco tag to get the position in the Mycobot coordinate space.
Here are a few APIs that are important:
“EstamatePoseSingleMarkers” made a evaluation, qr code and camera relative spatial coordinates.
“Quaternion_from_euler” converts Euler angles to quaternions because quaternions are used in ROS.
“SendTransform” converts spatial coordinates. We get the position of the Aruco mark on our object relative to the spatial coordinates of the manipulator.
3. mycobot_ros/scripts/mycobot/following_marker.py
As you can see, in the previous operation we’ve got the actual coordinates that we’re going to grab. So, now look at what the last file does.

In the source code above, we can clearly see that the file listens to the target coordinates through the lookupTransform method. A Marker is instantiated to create a cube in RVIZ simulation environment. The effect as shown in the figure:

4. mycobot_ros/scripts/mycobot/follow_and_pump.py

After looking at the launch file, we realized that we also need to run a script that draws objects at a fixed point. So what we’re doing in this script is we’re creating a receiver, we’re listening to see if the Aruco tag is detected, and when it’s detected, we’re getting the actual coordinates of the object that we’ve already got, we’re sending that coordinates to the robot arm and it’s going to go to the coordinates, and we’re going to start pumping.


